
Composer is a popular dependency management tool for PHP, created mainly to facilitate installation and updates for project dependencies.
Step 1 — Installing PHP and Additional Dependencies
sudo add-apt-repository ppa:ondrej/php
sudo apt update
sudo apt-get install php7.4

sudo apt install php7.4-gd php7.4-intl php7.4-soap php7.4-pdo php7.4-mysqlnd php7.4-opcache
php7.4-xml php7.4-mysql php7.4-mbstring php7.4-bcmath php7.4-json php7.4-iconv php7.4-curl
php7.4-dom php7.4-mbstring php7.4-zip unzip -y
Step 2 — Downloading and Installing Composer
cd ~
curl -sS https://getcomposer.org/installer -o composer-setup.php
HASH=`curl -sS https://composer.github.io/installer.sig`
echo $HASH
Now execute the following PHP code, as provided in the Composer download page, to verify that the installation script is safe to run:
php -r "if (hash_file('SHA384', 'composer-setup.php') === '$HASH') { echo 'Installer verified'; } else { echo 'Installer corrupt'; unlink('composer-setup.php'); } echo PHP_EOL;"
Output : Installer verified
If the output says Installer corrupt, you’ll need to download the installation script again and double-check that you’re using the correct hash. Then, repeat the verification process. When you have a verified installer, you can continue.
To install composer globally, use the following command which will download and install Composer as a system-wide command named composer, under /usr/local/bin:
sudo php composer-setup.php --install-dir=/usr/local/bin --filename=composerYou’ll see output similar to this:
Output
All settings correct for using Composer
Downloading...

Composer (version 1.10.5) successfully installed to: /usr/local/bin/composer
Use it: php /usr/local/bin/composer
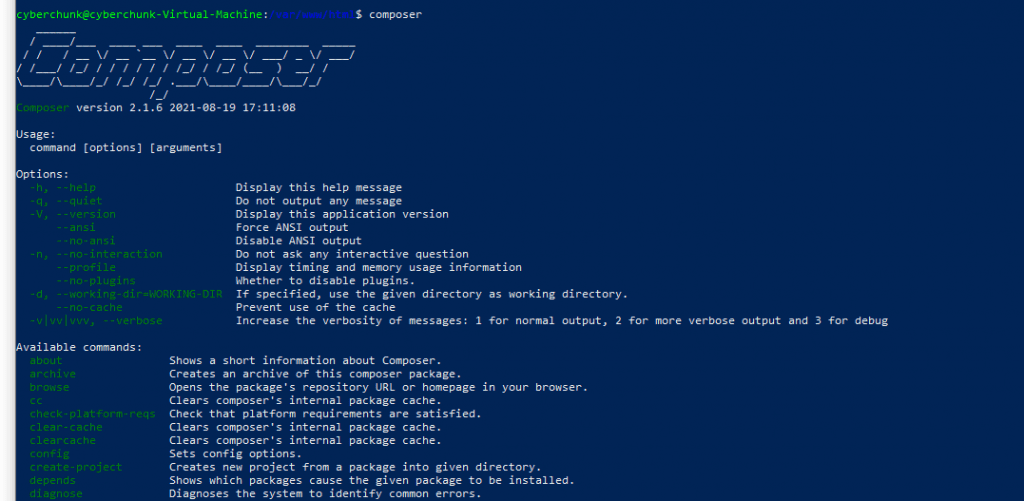
To test your installation, run:

Elasticsearch is a search engine that runs on your web server and is designed to improve the performance and accuracy of search queries. In this case, search for products within your website.
By default, Magento 2 uses MySQL to work as the search engine alongside its base functionality. However, MySQL will no longer be supported as the search engine as of Magento 2.4. Therefore, it’s a good idea to get ahead of these changes.
Installing Java Development (JDK) Kit 1.8
sudo apt-get update
sudo apt-get install openjdk-8-jdk -y
java -version
Installing Elasticsearch
cd ~
pwd
wget https://artifacts.elastic.co/downloads/elasticsearch/elasticsearch-7.6.0-amd64.deb
wget https://artifacts.elastic.co/downloads/elasticsearch/elasticsearch-7.6.0-amd64.deb.sha512
File integrity check
shasum -a 512 -c elasticsearch-7.6.0-amd64.deb.sha512
elasticsearch-7.6.0-amd64.deb: OK
sudo dpkg -i elasticsearch-7.6.0-amd64.deb
sudo /bin/systemctl daemon-reload
Add Elasticsearch to system startup
Add Elasticsearch to system startupRunning Elasticsearch
sudo systemctl start elasticsearch
Testing Elasticsearch
Now, before we go any further, it’s a good time to test that everything we’ve done so far is working as expected. We can use the cURL tool to do this by entering the following command: [06:30]
curl -X GET 'http://localhost:9200'
Which should return values similar to what you see here.

Configuring Magento
So it’s time to log into Magento and navigate over to Stores > Configuration > Catalog > Catalog > Catalog Search.
Reindex Magento
Before we can finish, we just need to reindex Magento so that we can populate the appropriate tables – Otherwise search results may show an error.
su magento
(Or if you logged out before, just log straight in as that user) You’ll need to enter your password for this user.
Then navigate over to the Magento root directory with:
cd /var/www/html/
And finally, run the Magento Indexer with:
bin/magento indexer:reindex
This will take about a minute to complete…
Leave A Comment